Last Updated on December 11, 2025
An Intermediate-Level Mountain Journey in Kansai
Introduction
For hikers seeking a more demanding mountain outing near Osaka, the two-day border traverse between Nara and Mie Prefectures offers a rewarding ridge adventure with steady elevation gain, open meadows, quiet forests, and long stretches of prefectural border trail. This is not a casual day hike but an intermediate-level overnight traverse that requires good stamina and proper gear.
The route follows part of the Daiko Mountain Range, a spine-like ridge that separates the two prefectures and provides broad views when the weather is clear.
We completed this trek in late May, when the weather was mild and refreshing. Over two days, the trek covers approximately 24 km with notable cumulative elevation gain and loss. The first day leads to Myojindaira, a scenic high meadow used as a primitive campsite, followed by a short ascent to Mt. Myojindake and then eastward to Mt. Hinokizuka-okumine. The second day traces the Daiko ridgeline northward over several peaks before descending toward Takami Pass and the final trailhead at Takasumi Onsen.
It is a route well-suited for hikers already familiar with Japanese mountain terrain, comfortable with carrying overnight packs, and motivated by a quiet, immersive backcountry experience.

Day 1:
Route Overview
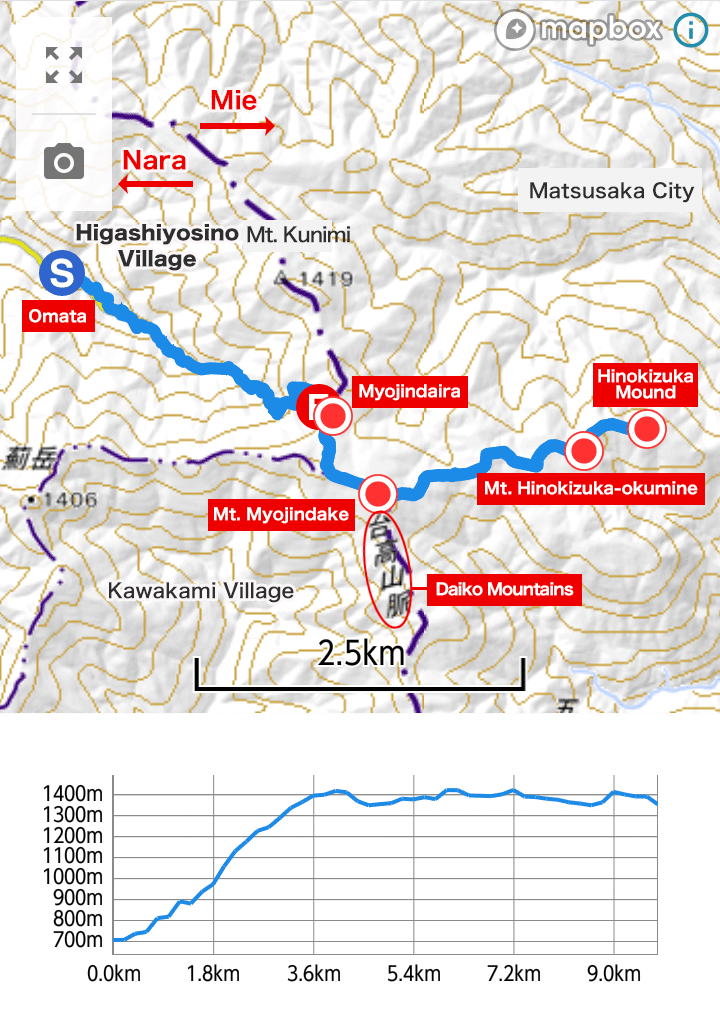
- Route
- Omata → Myojindaira → Mt. Myojindake → Mt. Hinokizuka-okumine → Hinokizuka Mound → Myojindaira (GPX data)
- Activity Log
- Distance: 11.2 km
- Elevation Difference: 738 m
- Elevation Gain/Loss: 1331 m / 788 m
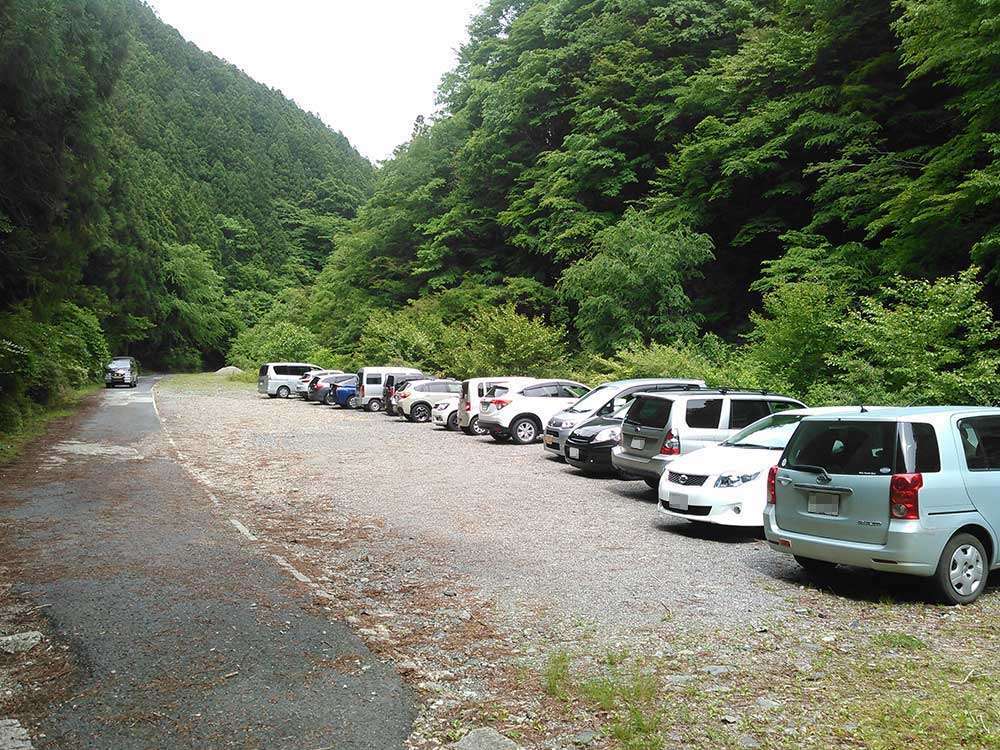
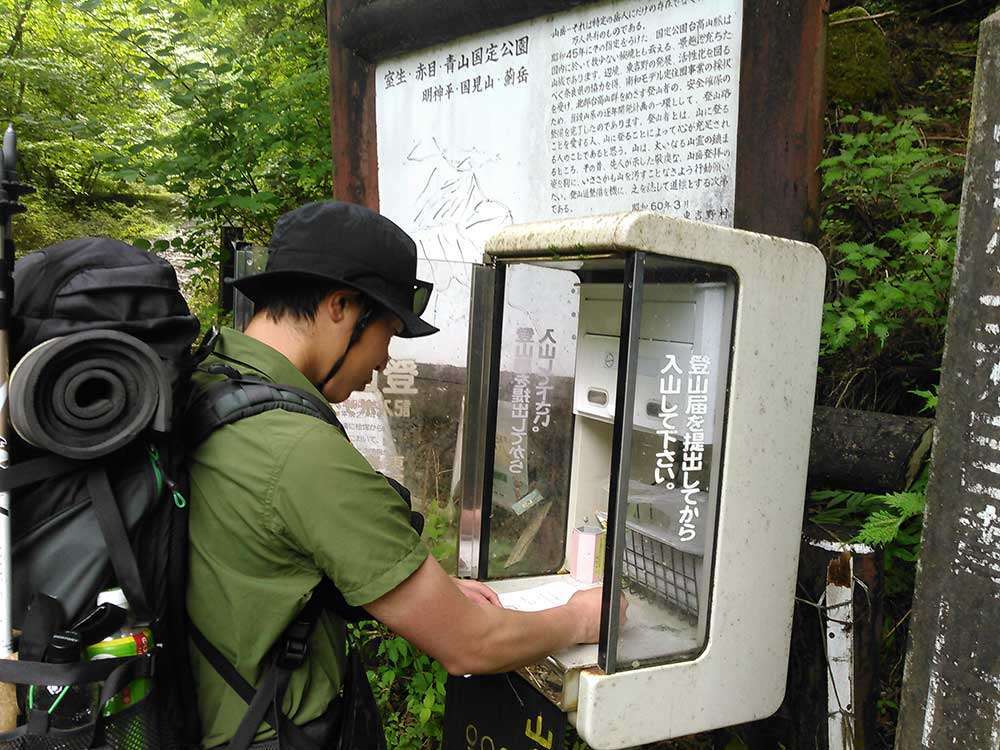
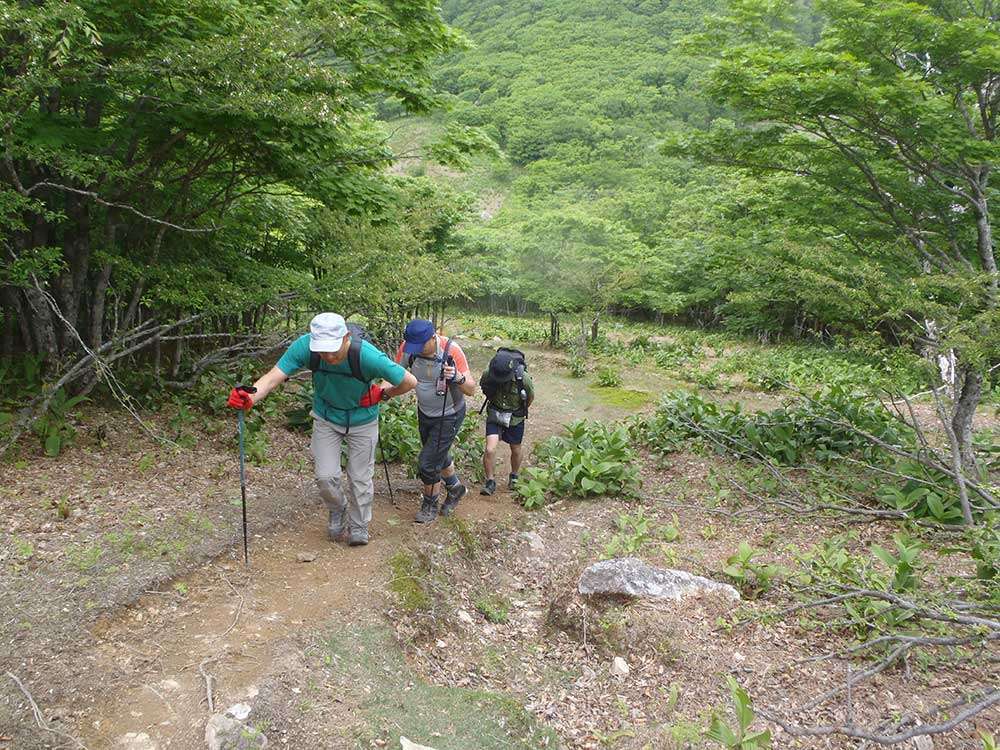
We began at the Omata parking lot in Higashiyoshino Village, located in the eastern region of Nara Prefecture.Before starting the ascent, we filled out a mountain-climbing registration form at the booth located in the parking area. All hikers are encouraged to submit this form here, as it helps authorities in case of emergency.
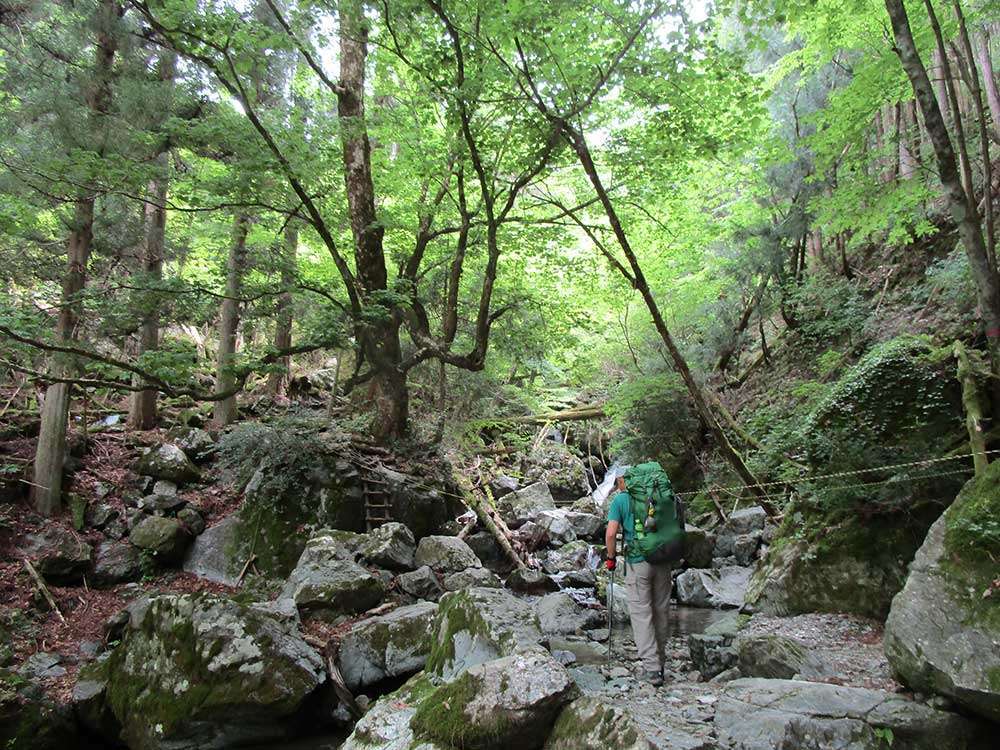
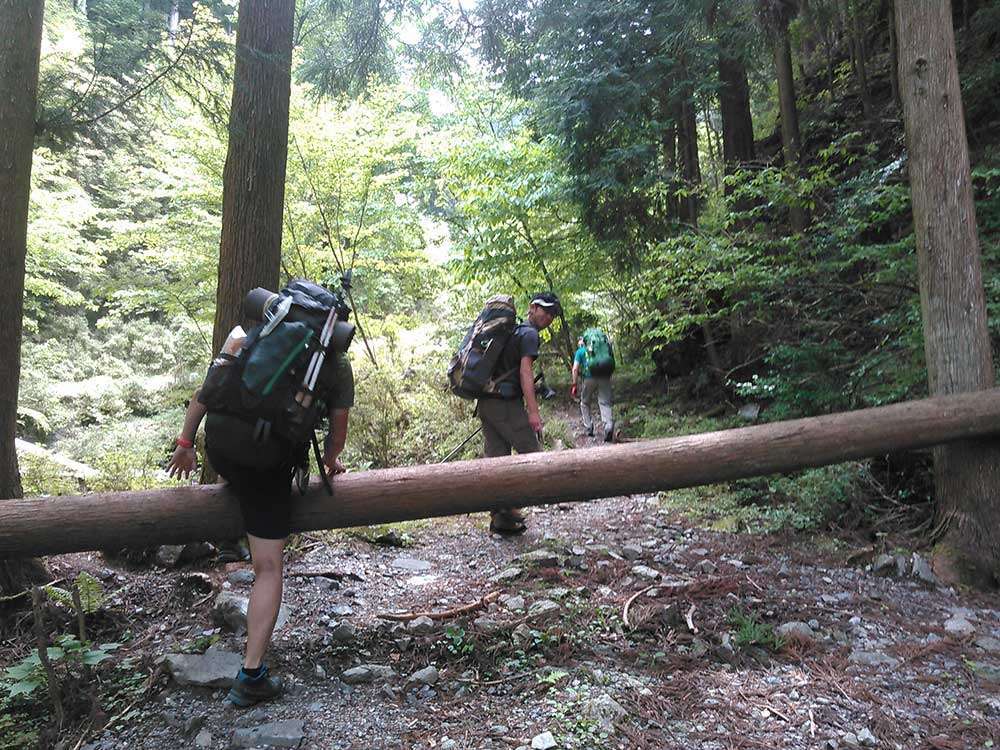
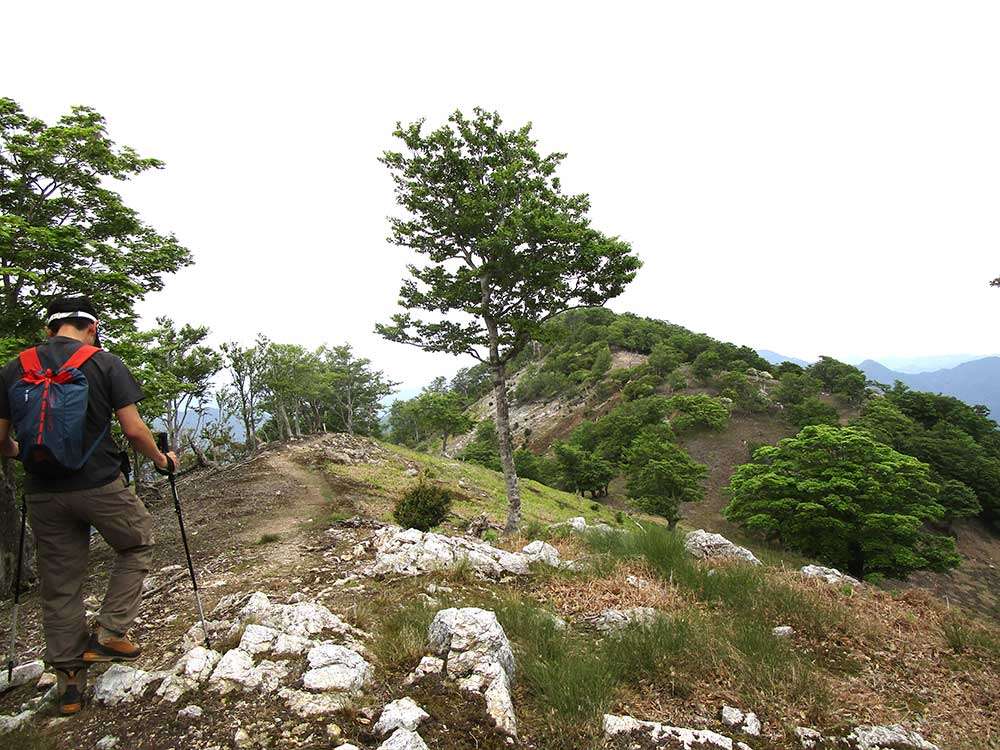
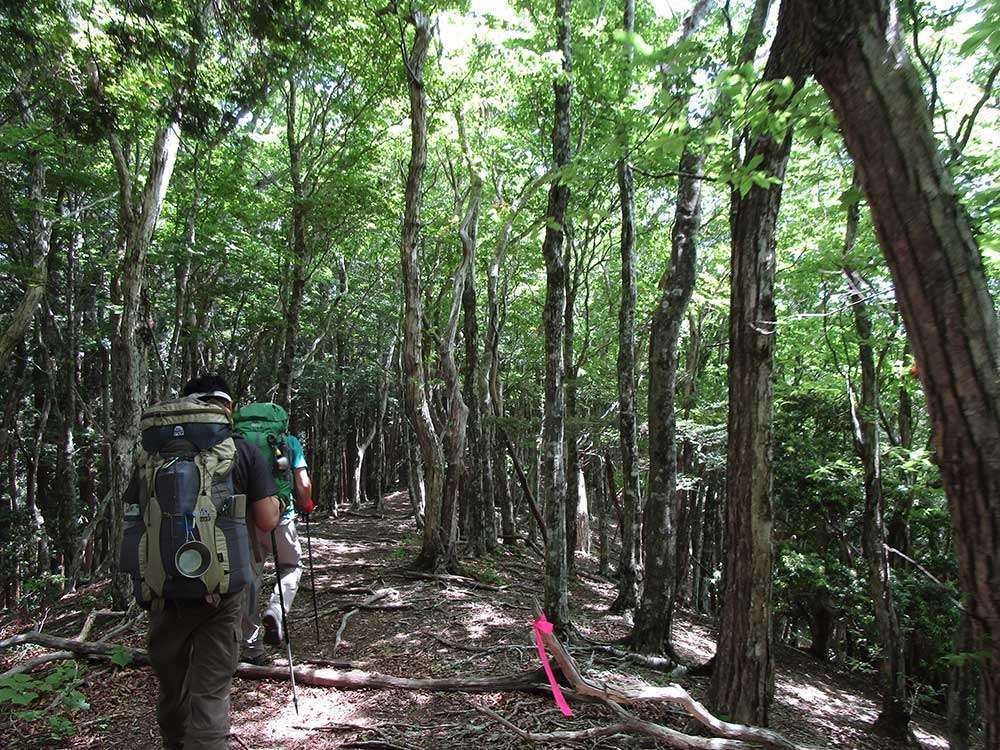
Starting around 10 a.m., we followed a well-defined forest trail where several fallen trees required small detours, though passage was straightforward.
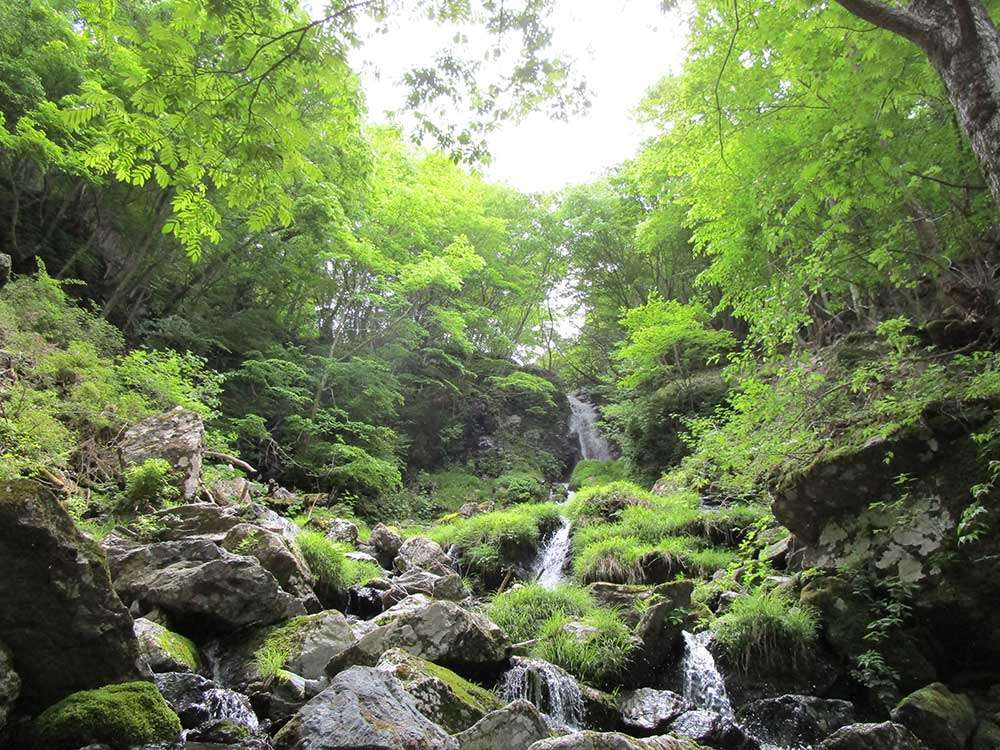
Shortly afterward, the trail revealed Myojin Falls, flowing with remarkably clear water. Higashiyoshino has long been a place where water deities, especially the dragon spirit, have been revered, and the clarity of the stream seemed to echo that heritage.
Myojindaira: Campsite on the Plateau
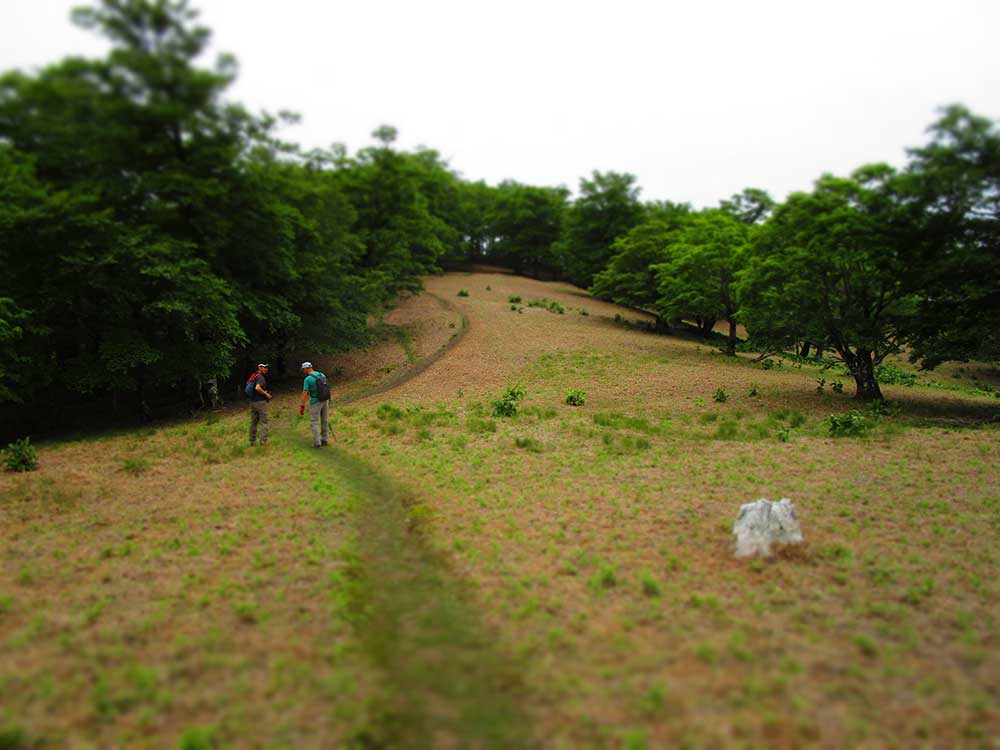
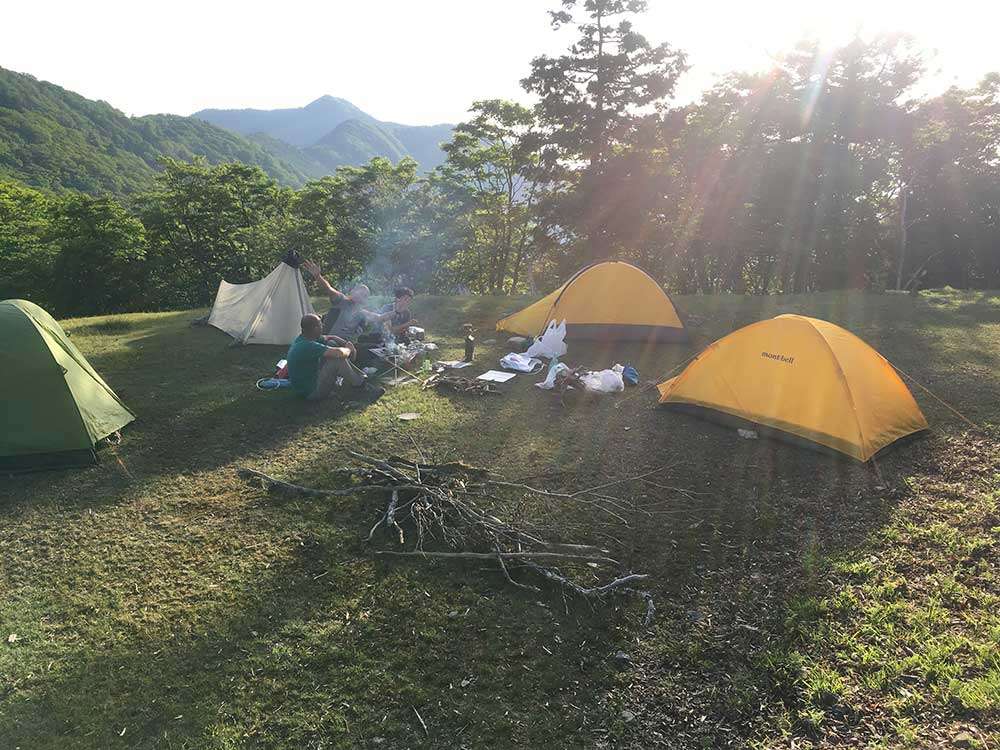
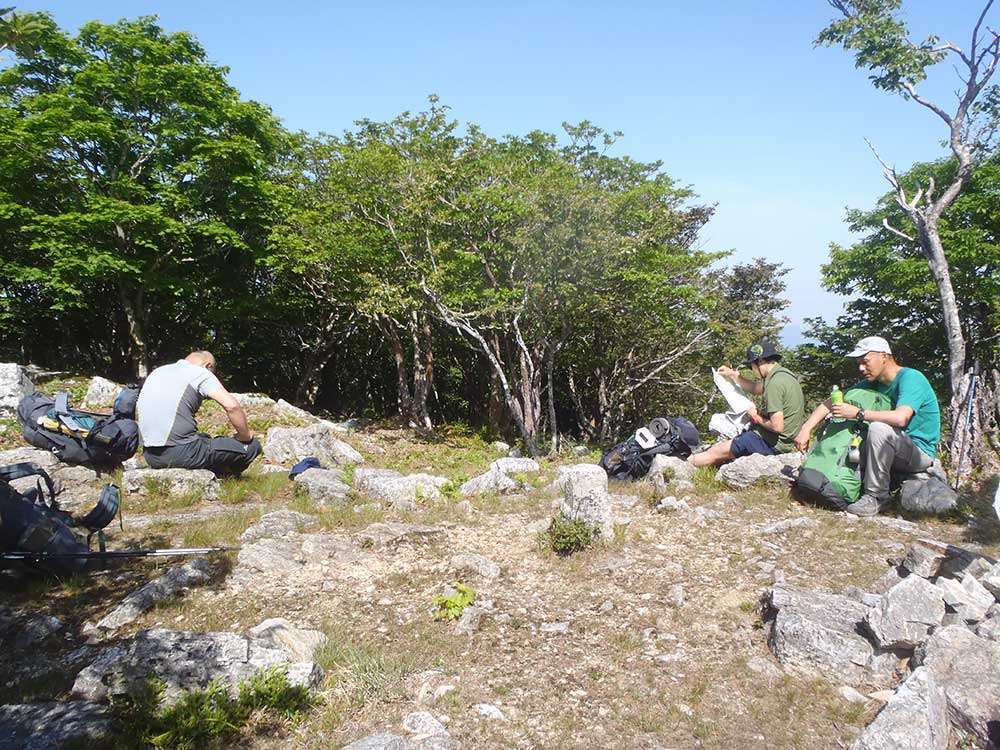
After about two hours, the forest opened and the wide meadow of Myojindaira came into view. We set up our tents here early to lighten our packs before continuing toward the border peaks.
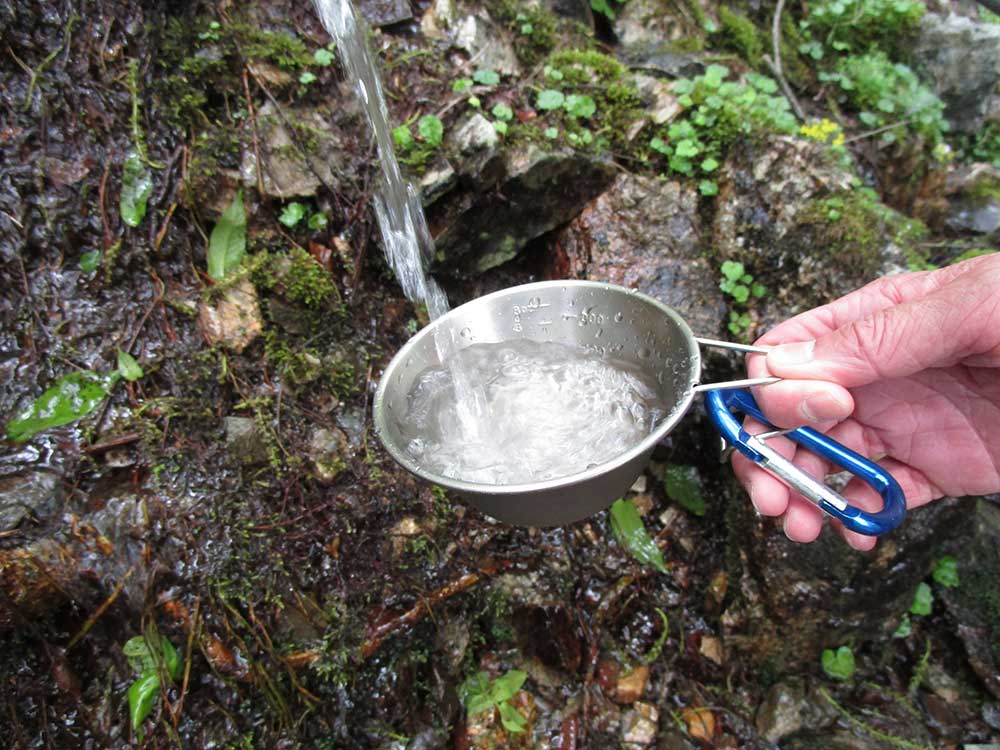
Myojindaira is popular among local campers, but facilities are minimal: there is a water source but no toilet. The open landscape, however, makes it an inviting place to spend the night.
Ascent to Mt. Myojindake
With lighter packs, we set off for Mt. Myojindake. The ascent took roughly 20 minutes.
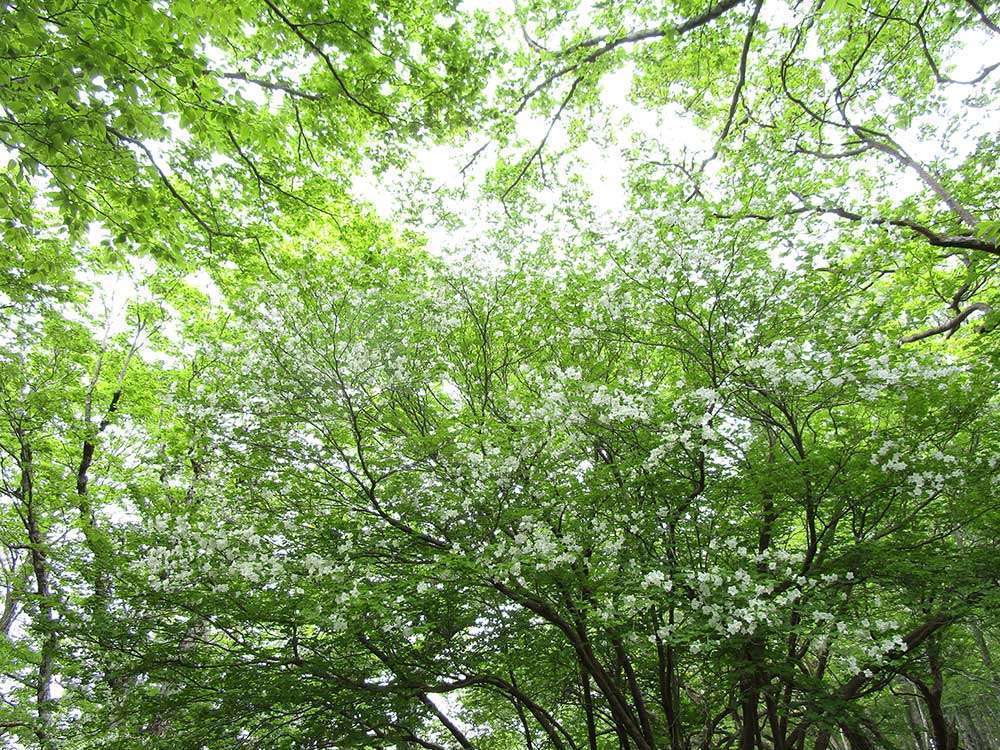
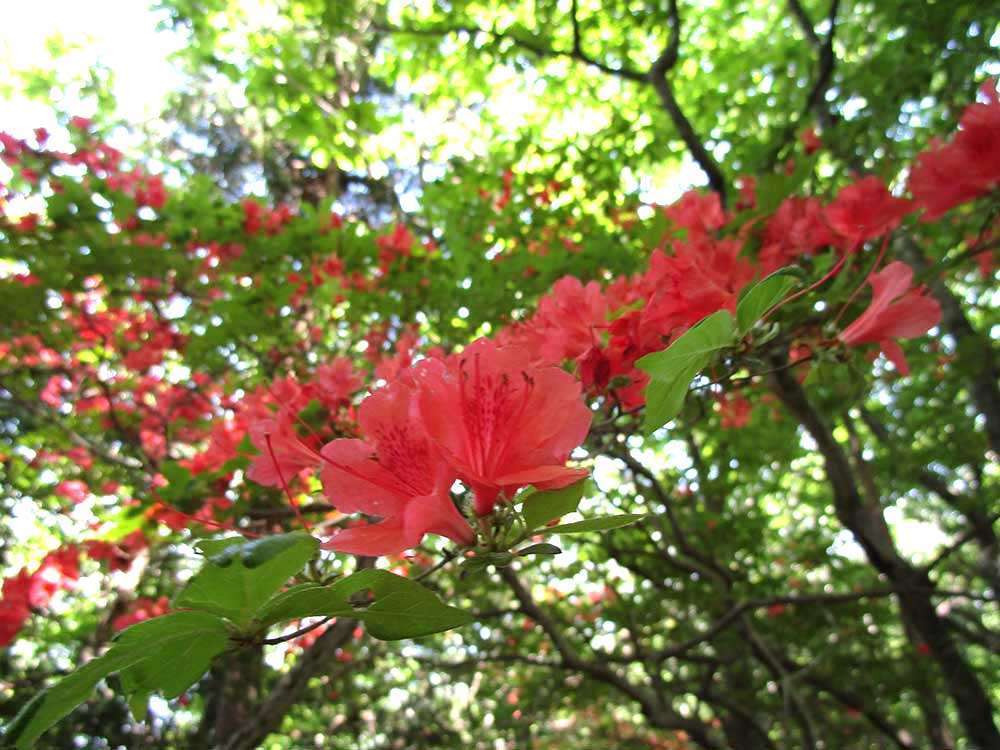
At the summit, we were greeted by white azaleas in full bloom, and many hikers were taking photos of the flowers against the early-summer backdrop. After taking in the views, we continued east toward the Mie side of the ridge.
Across the Border to Mt. Hinokizuka-okumine
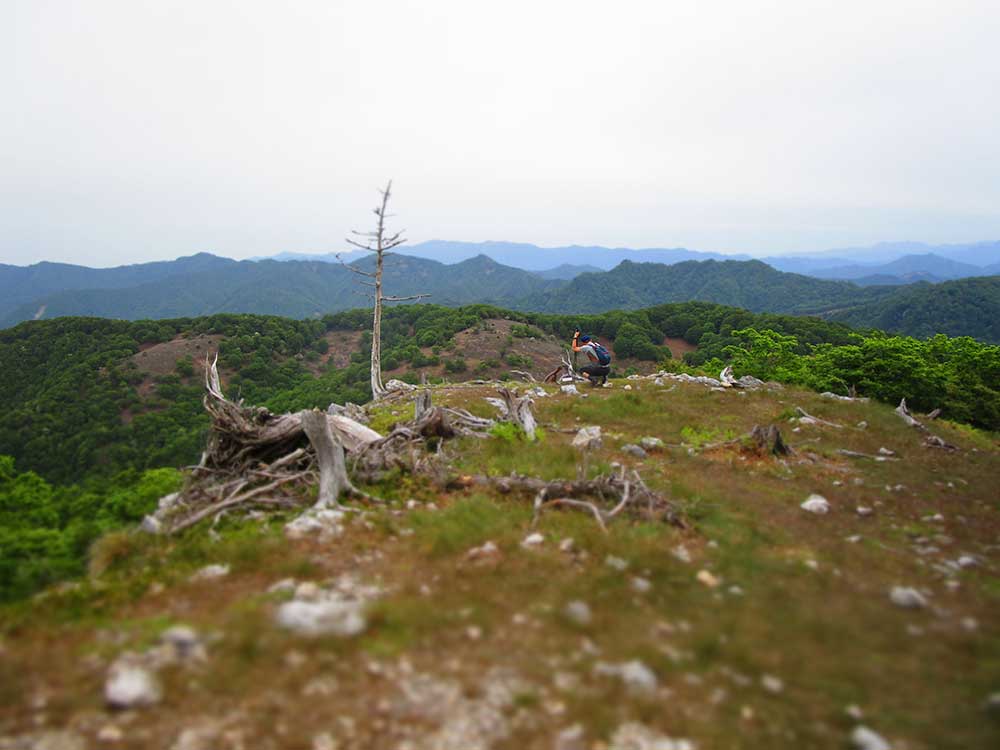
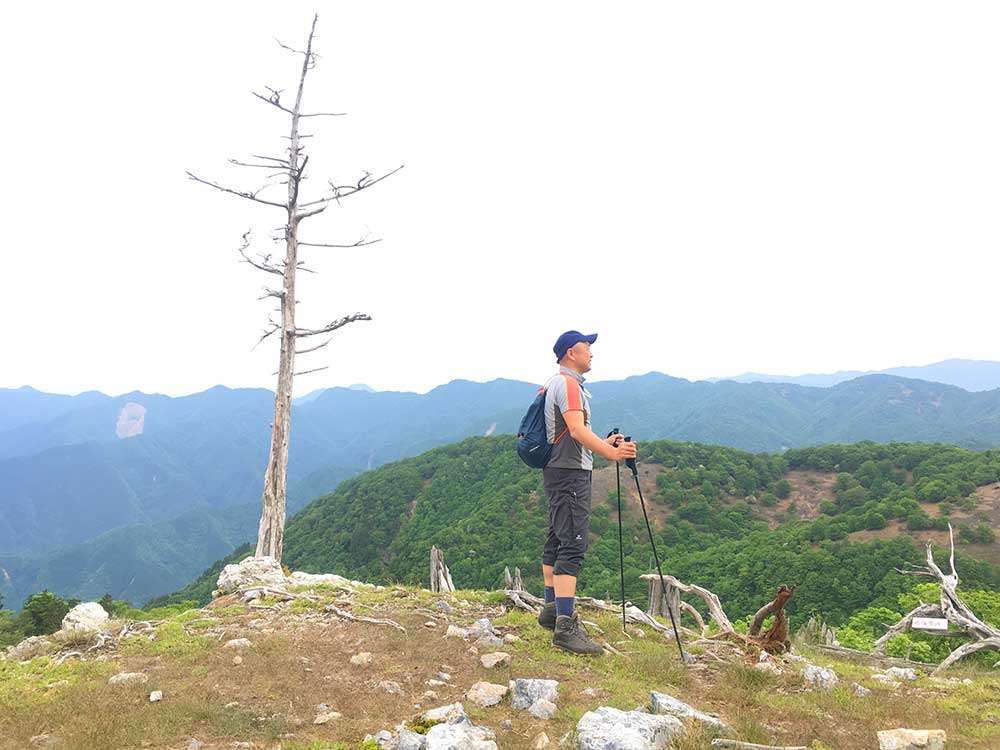
The trail toward Mt. Hinokizuka-okumine, one of the highest peaks in Mie Prefecture at 1,420 m, followed a pleasant ridgeline. The summit offered expansive views over the surrounding mountains, with layers of ridges extending into the distance.
Side Trip to Hinokizuka
Since daylight was ample, we made a brief extension to Hinokizuka Mound before returning to Myojindaira for the night.
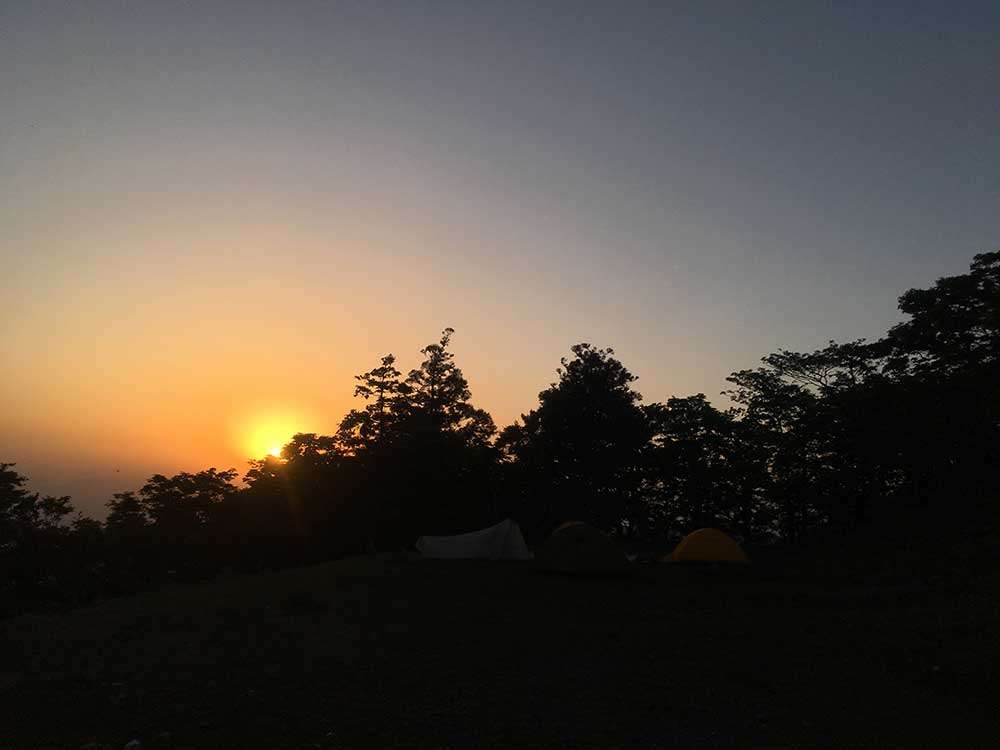
Camp Night at Myojindaira
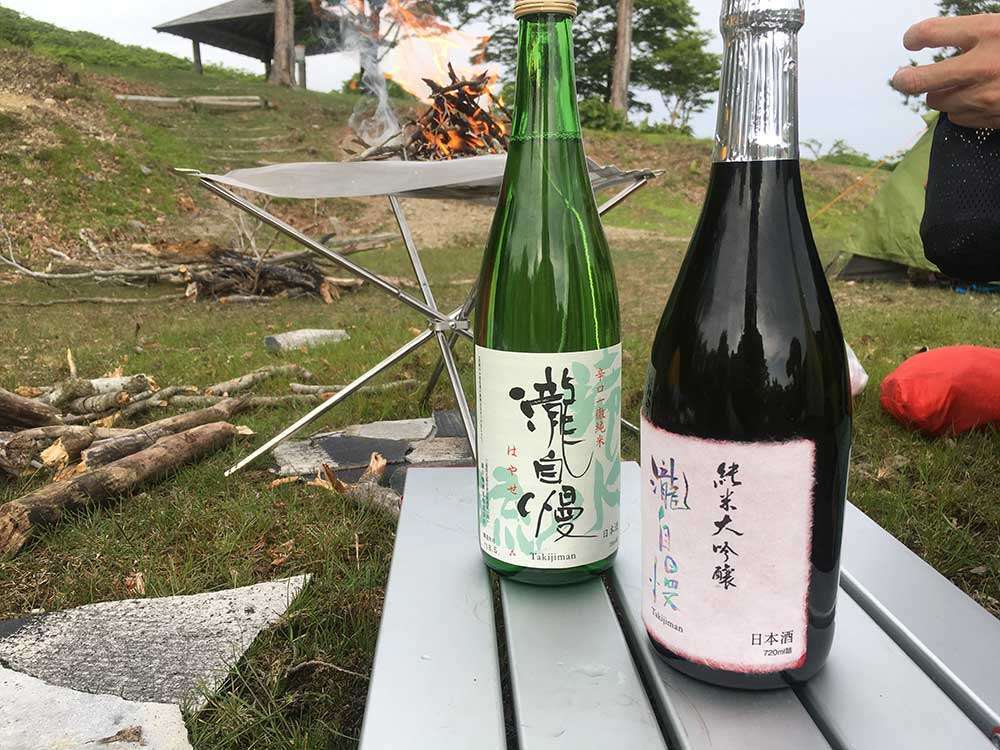
We arrived back at camp around 4 p.m. The long May daylight allowed plenty of time to settle in. We fetched water, prepared dinner, and enjoyed a small bonfire while the sky shifted into warm evening tones.
We had brought bottles of local sake to share—a heavy addition to the pack but worthwhile in such a quiet, open setting. The contrast between enjoying sake in the mountains and drinking it in town was striking.
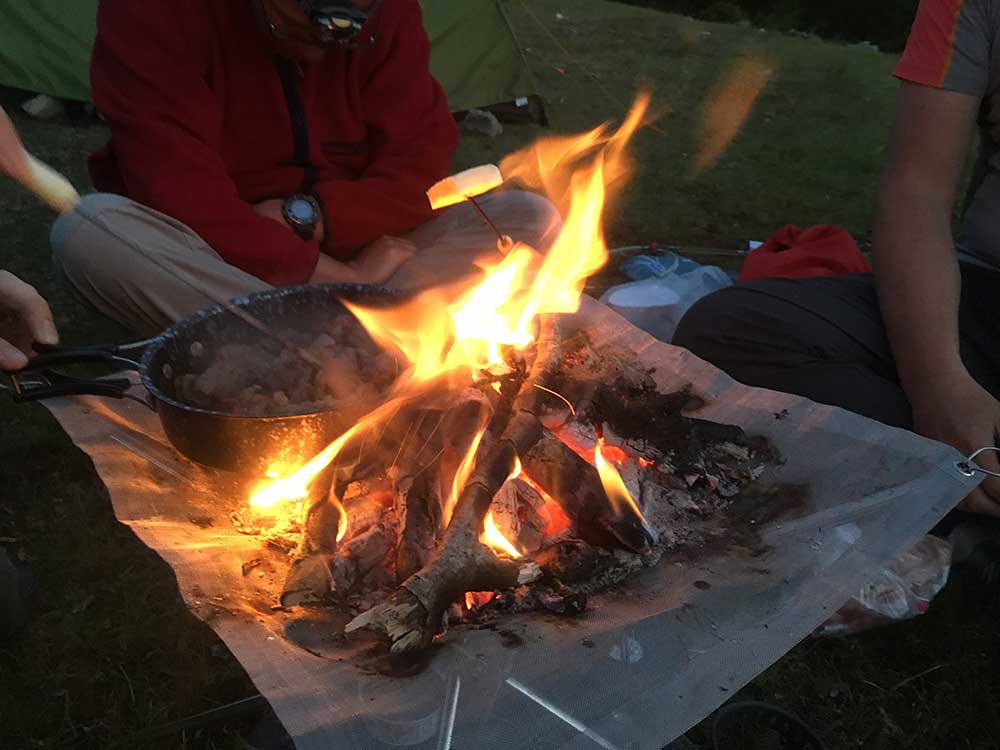
By 9 p.m., pleasantly tired (and slightly too relaxed from the sake), we turned in early, hoping to be fully recovered for the long traverse the next day.
Winter Note
Myojindaira is also known for rime ice (hoarfrost) in winter, offering a completely different landscape when conditions align.
Day 2:
Route Overview
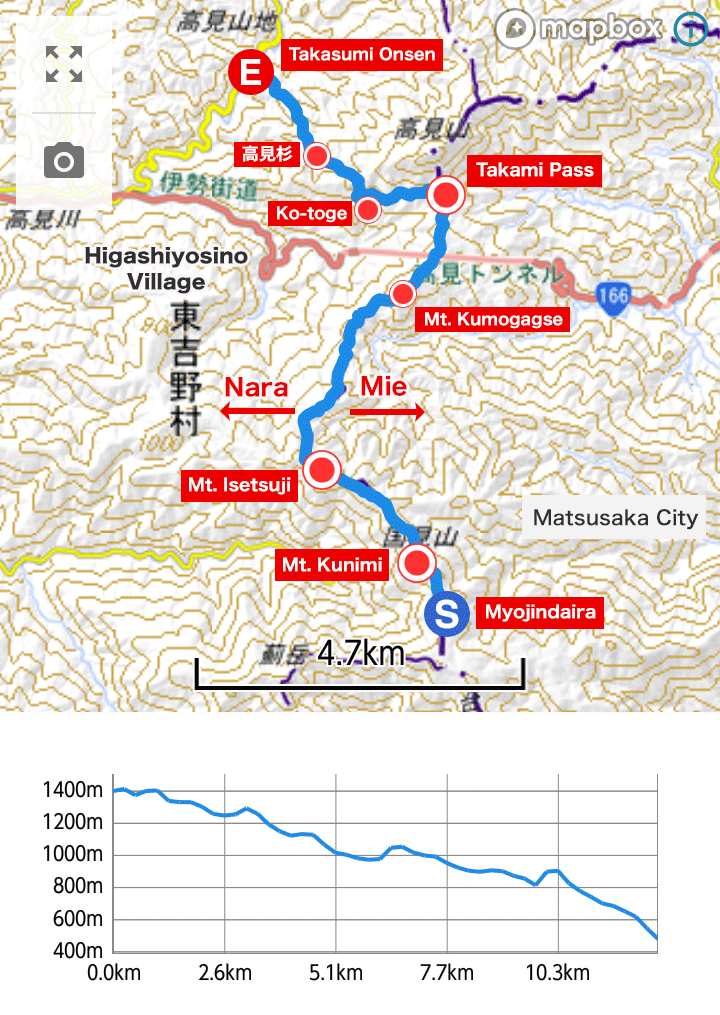
- Route
- Myojindaira → Mt. Kunimi → Mt. Isetsuji → Mt. Kumogase → Takami Pass → Ko-toge → Takami-sugi → Takasumi Onsen (GPX data)
- Activity Log
- Distance: 13.3km
- Elevation Difference: 994m
- Elevation Gain/Loss: 807m/1739m
Despite the refreshing mountain air, I woke up with a lingering headache—evidence of having enjoyed the sake a little too much. After a light breakfast, my steps were heavier than usual, but we decided to tackle Day 2 at our own pace.
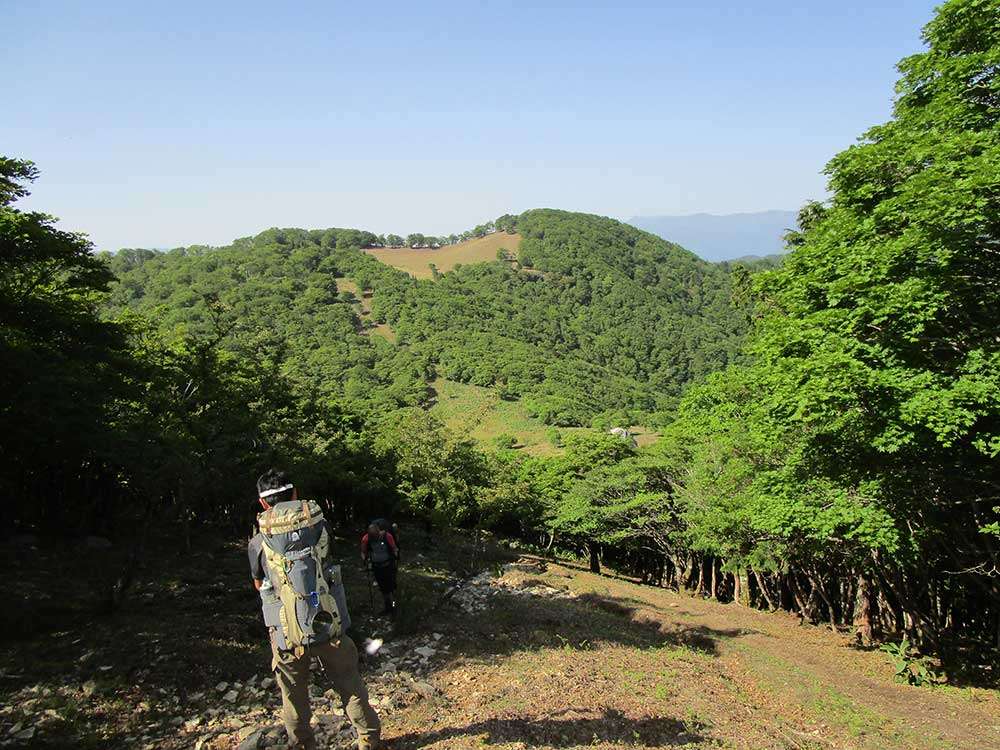
Myojindaira to Mt. Kunimi
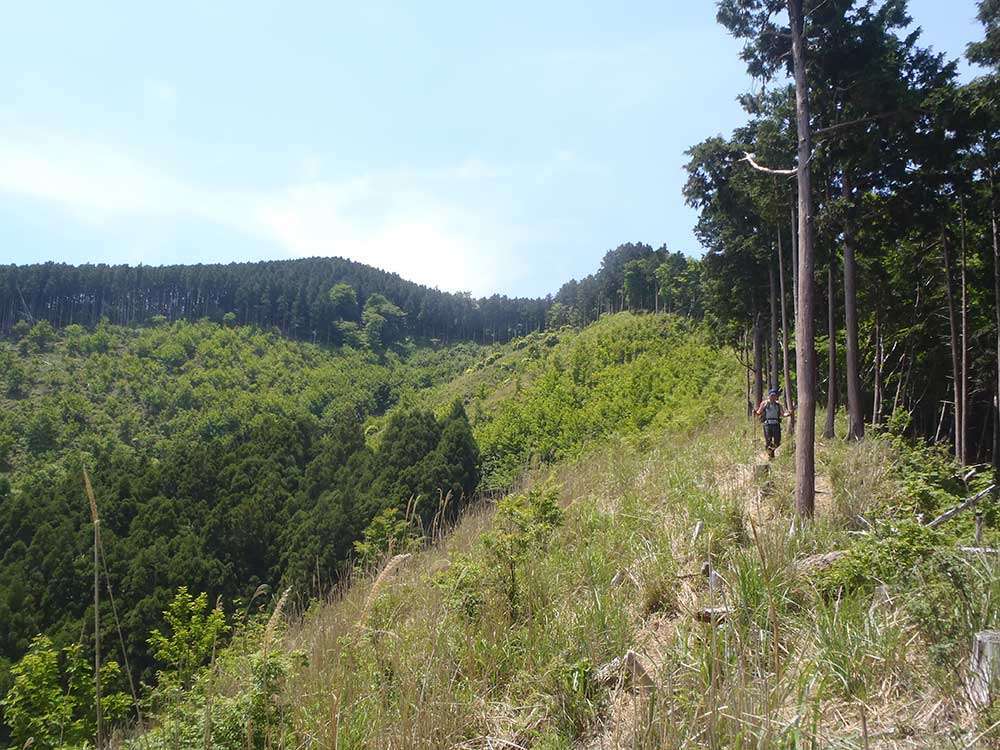
We headed north along the Daiko Mountain Range, which follows the border between Nara and Mie, and made our way to the summit of Mt. Kunimi. Although the view from the summit was modest, it provided a comfortable place to rest before continuing northward.
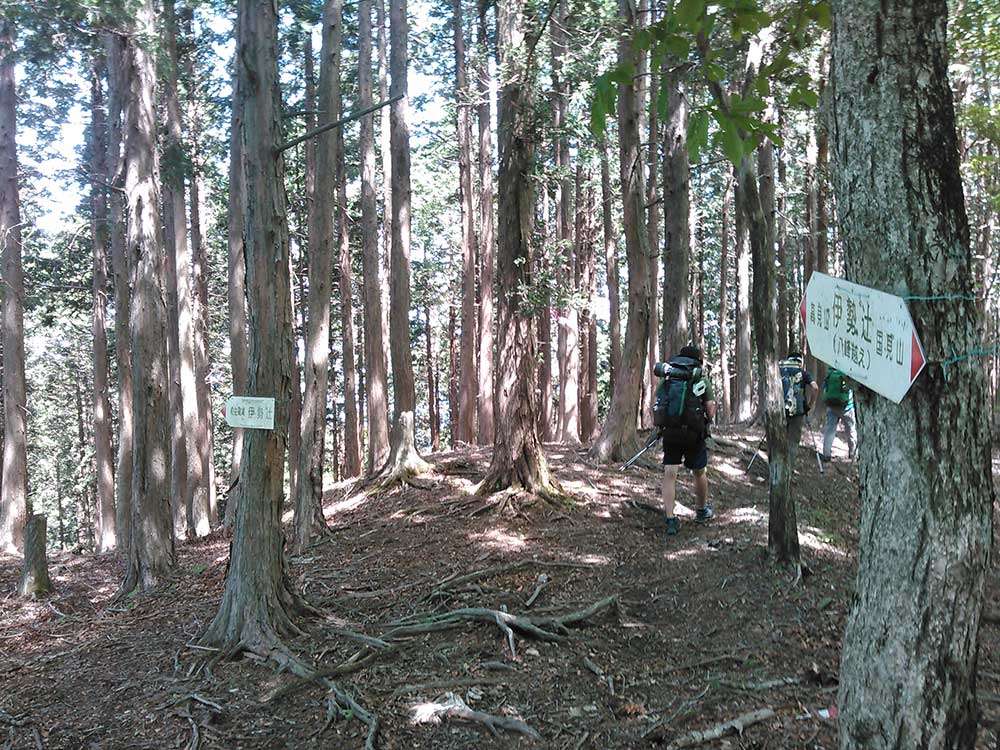
Mt. Kunimi to Mt. Isetsuji
After the rest, we proceeded toward Mt. Isetsuji. Along the way, we found sections of vibrant vermilion flowers adding color to the deep green forest.
The ridge here is generally steady, with gradual ascents and descents typical of this mountain range.
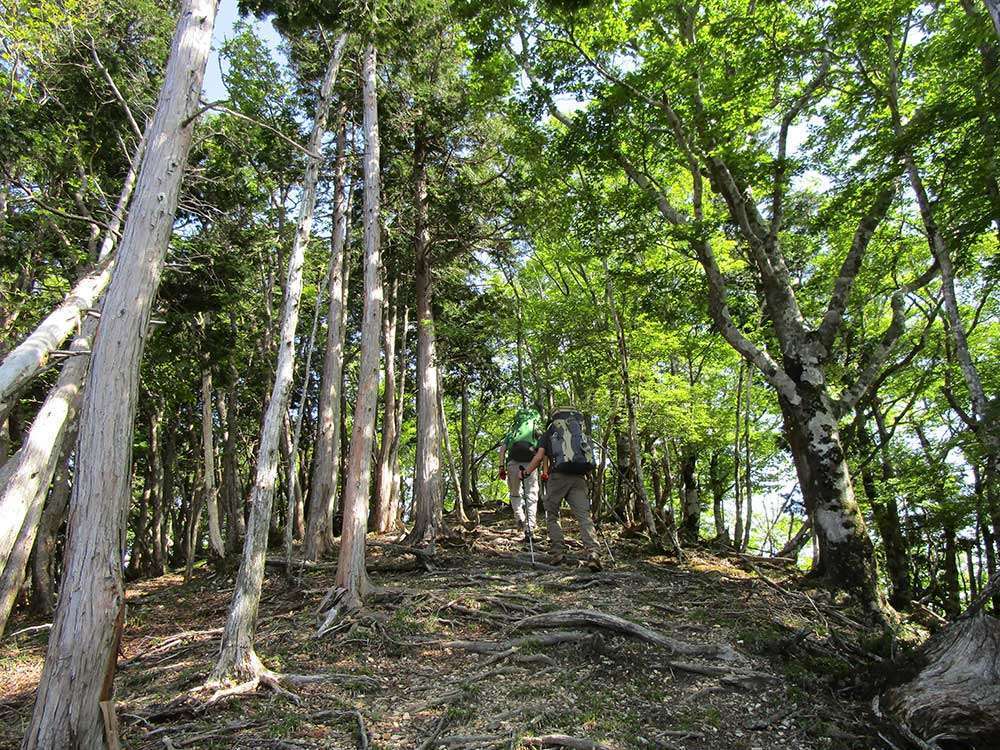
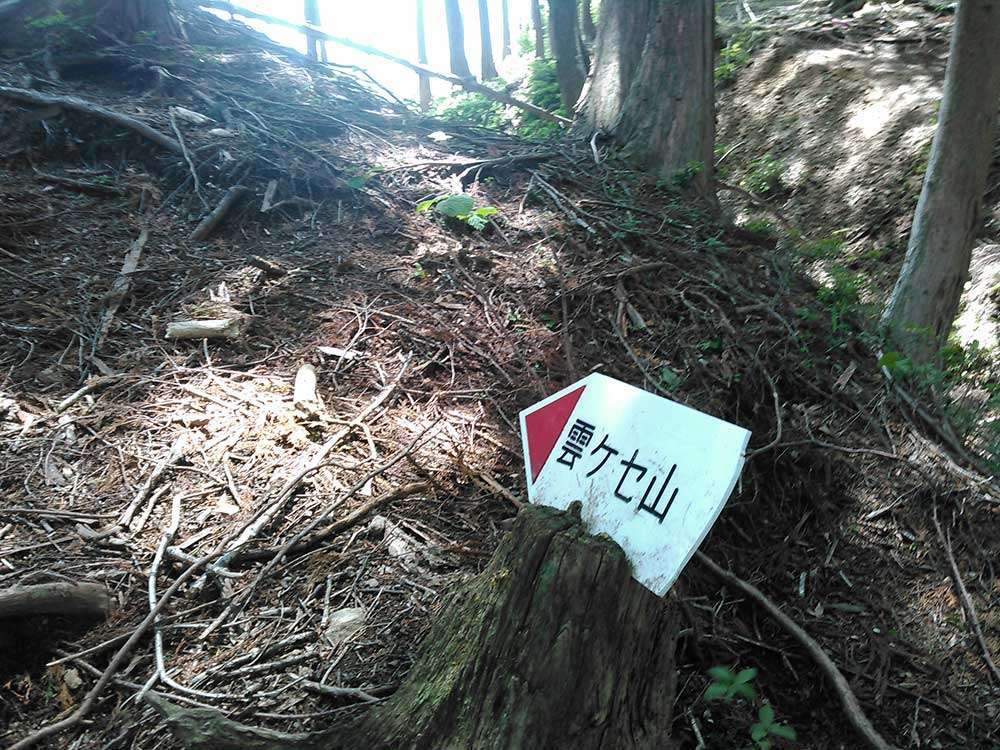
Mt. Isetsuji to Mt. Kumogase
From Mt. Isetsuji, we continued along the ridge with gentle ups and downs. Some spots could be confusing, so we checked the markings and signposts as we made our way toward Mt. Kumogase.
Toward Takami Pass (O-toge)
The final section of the ridgeline led us toward Takami Pass, historically known as O-toge (“grand pass”), which sits at an elevation of 904 meters.
This pass lies on an old pilgrimage road that once connected Wakayama and Ise Grand Shrine, and has long been considered one of the more demanding parts of the route.

Descent to Takami-sugi and Takasumi Onsen
Takami Pass also serves as one of the trailheads for Mt. Takami (1,248 m), often called the “Matterhorn of Kansai.” A torii gate marks the start of the ascent, and a shrine stands at the summit—a point of worship since ancient times.
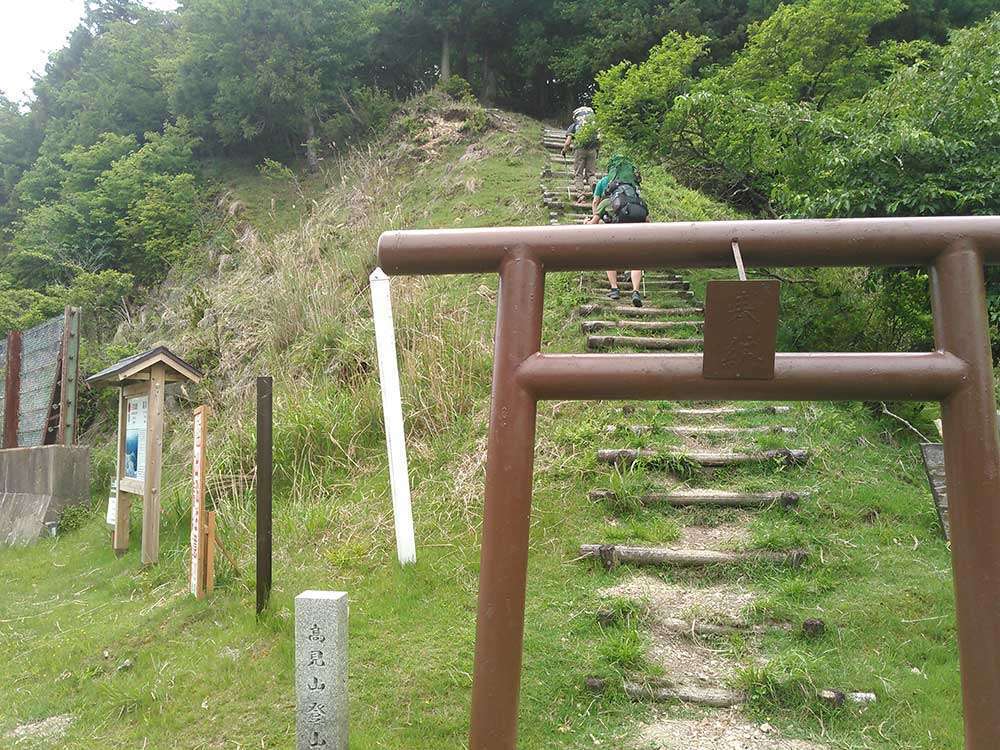
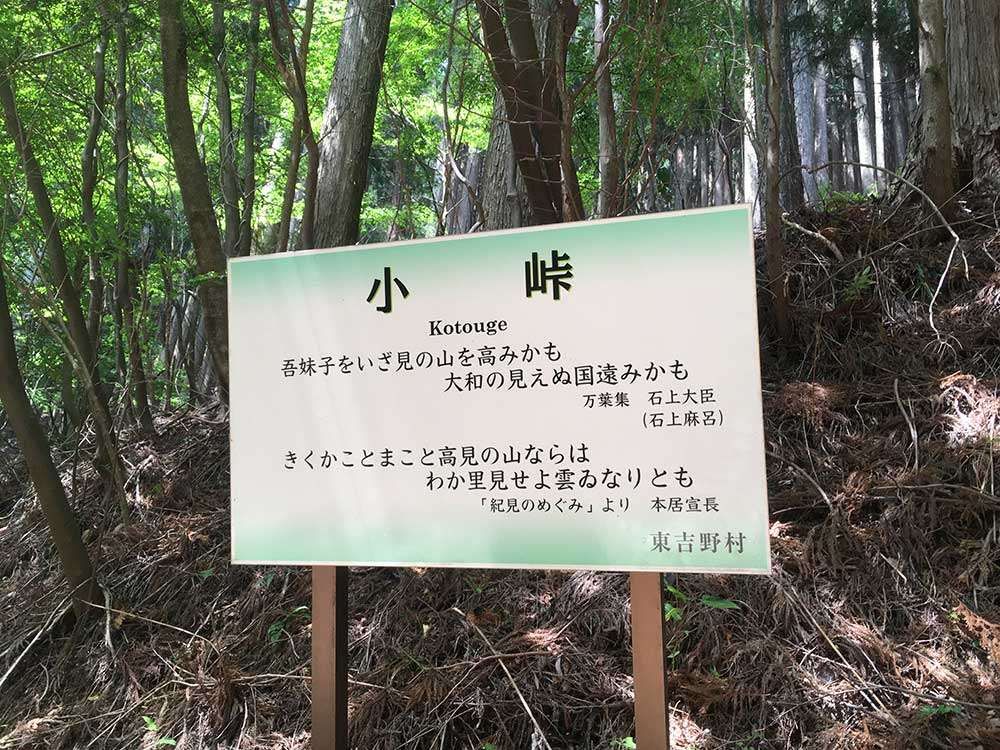
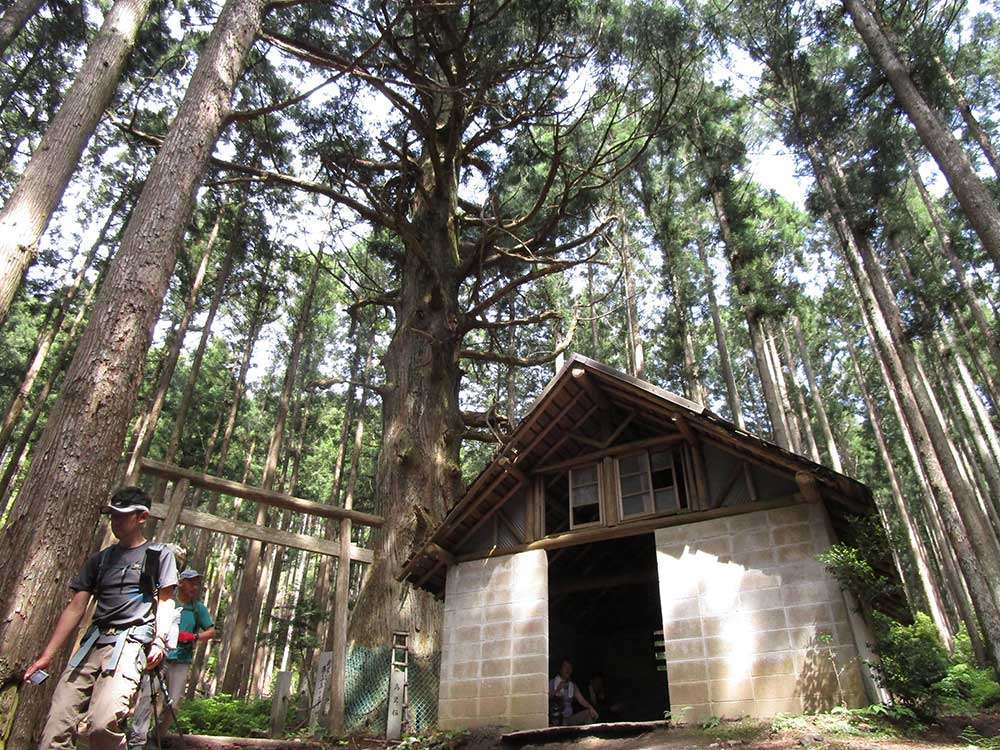
We had originally planned to climb Mt. Takami, but after having a bit too much sake the night before (my fault entirely), we decided to skip the ascent. Instead, we passed through the torii at the trailhead and followed the westbound path toward Ko-toge (“small pass”). Then we descended gradually toward Takami-sugi, an impressive cedar tree said to be roughly 700 years old.
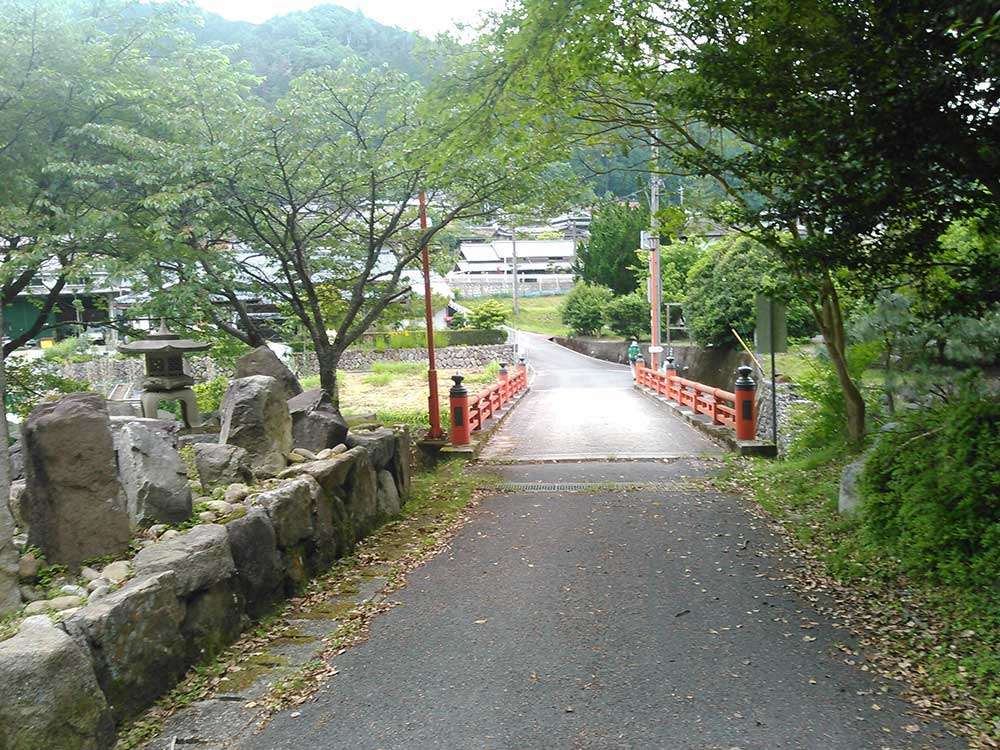
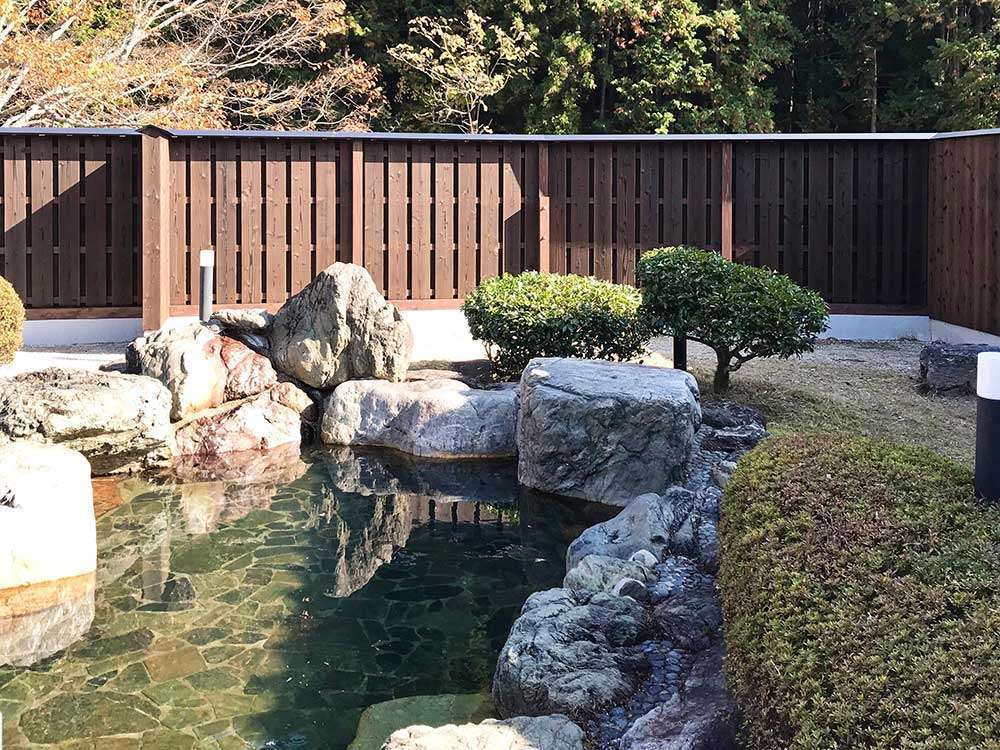
From there, a final descent led to Takasumi Onsen, where we could finally rest our legs in smooth hot-spring water. Nearby is another trailhead for Mt. Takami, known as the Hirano Trailhead, which is commonly used by hikers arriving by public transport. It is accessible by a one-hour Nara Kotsu bus ride from Kintetsu Haibara Station to the stop “Takami Hirano (高見平野).”
After soaking in the bath, any memory of the previous night’s overindulgence quickly faded, and we refreshed ourselves with an ice-cold beer. Don’t worry—we had a designated driver, a friend who came to pick us up. It turned out to be the perfect way to wrap up two days of early-summer mountain trekking on the Nara–Mie border ridge.

- Starting Point
- Omata Parking Lot
- Higashiyoshino Village, Yoshino-gun, Nara Prefecture
- Access by car: About 1 hour 10 minutes from the Hari Interchange on the Meihan National Highway, or about 1 hour 20 minutes from Kintetsu Nabari Station, where several rental car companies are available.
- Ending Point
- Takasumi Onsen
- 835 Hirano, Higashiyoshino Village, Yoshino-gun, Nara Prefecture
- Overall activity Log
- Distance: 24.1 km
- Elevation Difference: 994 m
- Elevation Gain/Loss: 2325 m / 2564 m
- Facilities
- Myojindaira: Water available, no toilet
- Public toilet: Located approx. 2 km away from Omata Parking Lot
- Takasumi Onsen: Hot spring facility with rest area
- - Official website
- - Related post